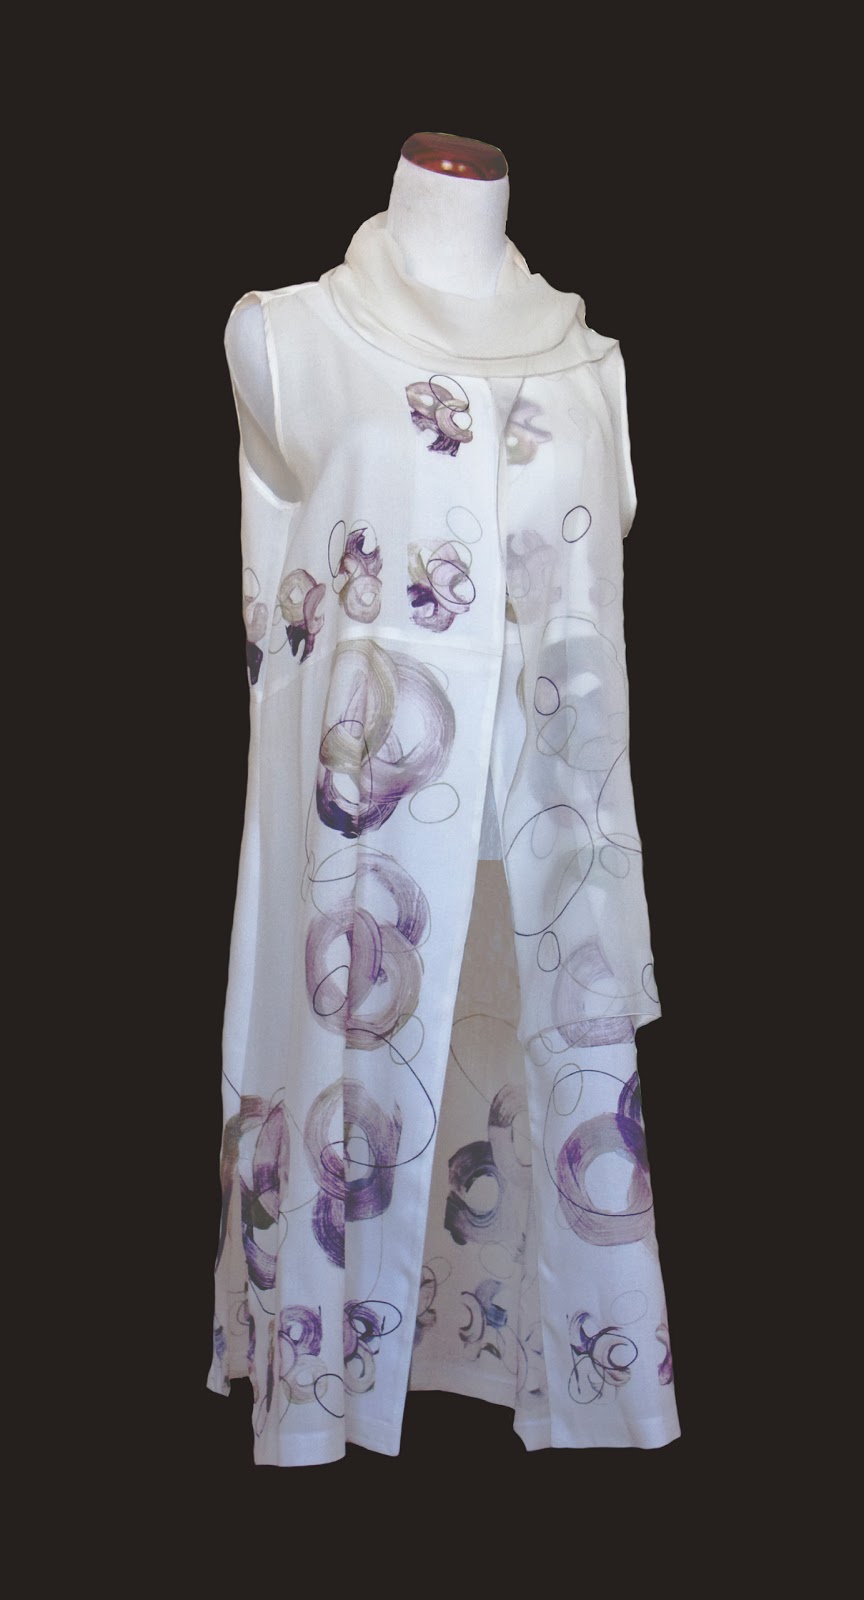
This is the newest piece that has been added to the CherScapes Wearable Art Collection. Tilted Kayla, this long vest is made from a wonderful blended fabric of tencel and silk. It has a coordinated silk chiffon scarf. The more concentrated areas of color were made by using a 6" x 6" ceramic tile as a base for monoprints. The outlined circles were screen printed using EZScreen print emulsion paper.
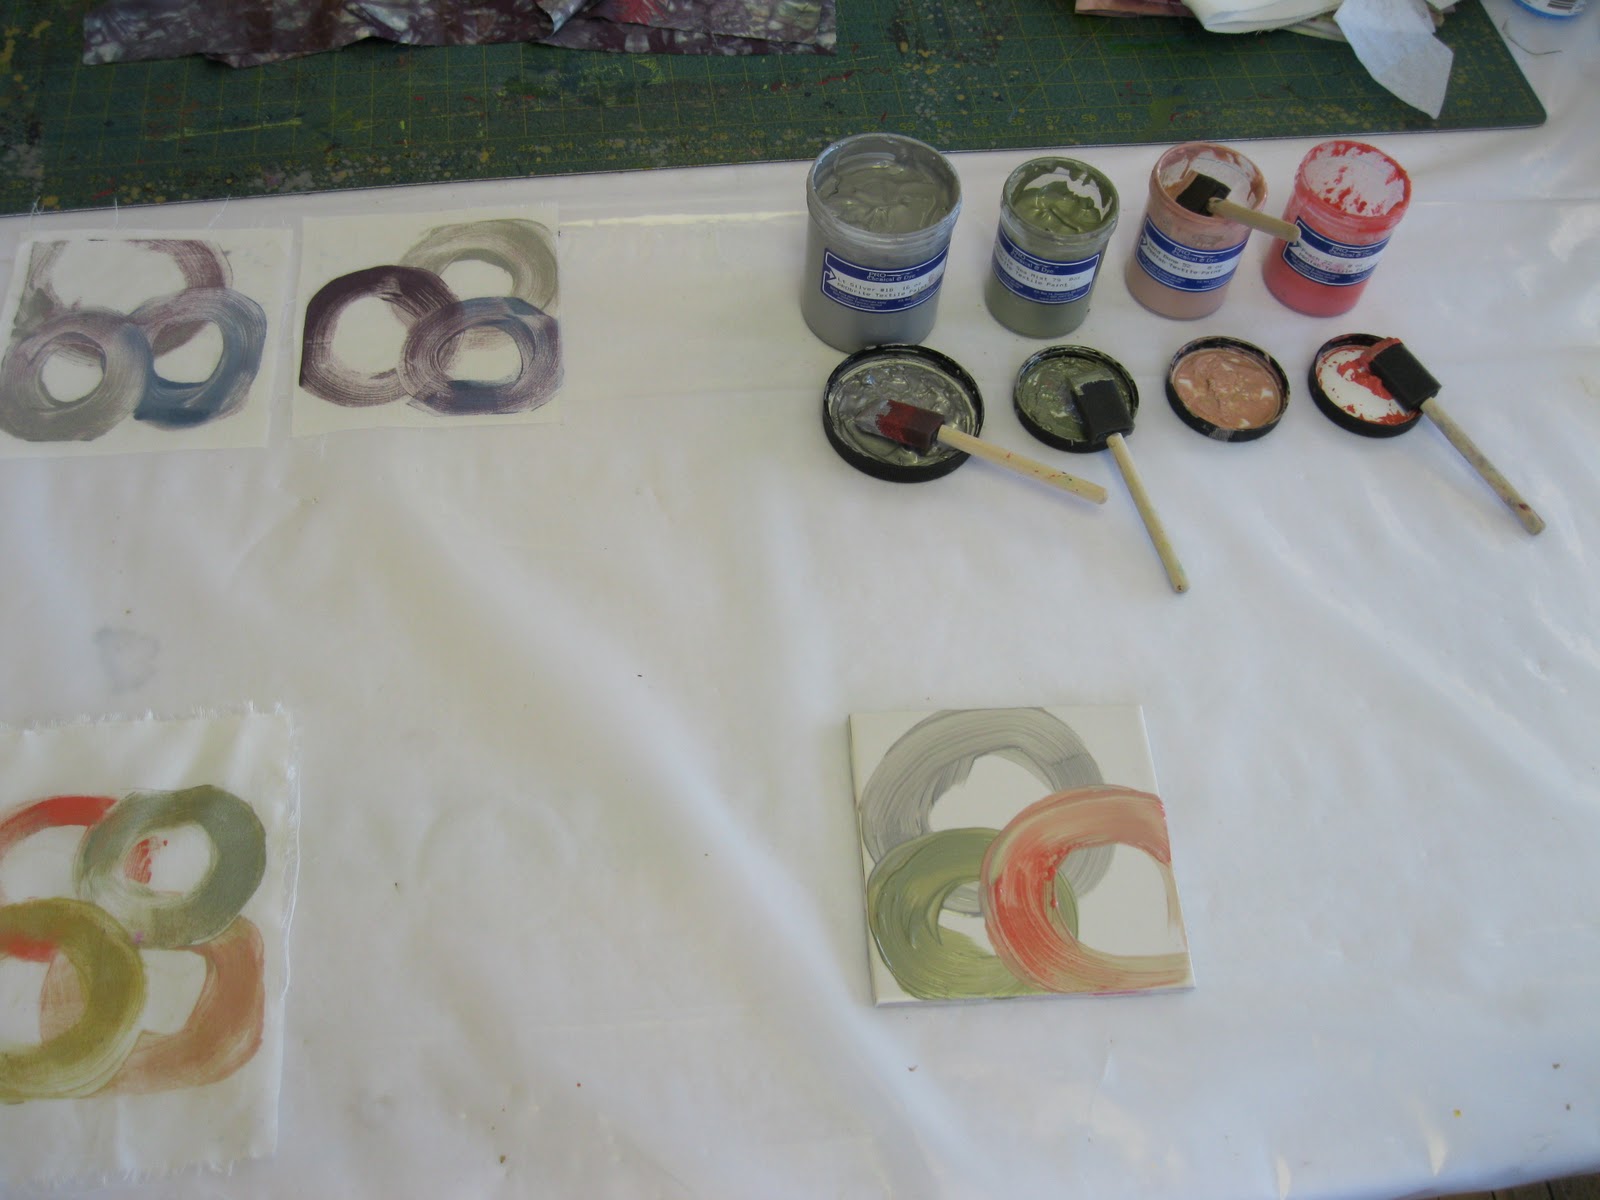
In the picture above I have set out my paints and the ceramic tile (lower right) has been painted using a 2" foam brush. There is a separate brush for every color.

This is the tile close up with a very basic painting technique. I really had to push myself to paint sloppy. I generally love clean hard edges. But I wanted this step to be loose.

Over it goes onto the fabric. When you are working with a relatively large and hard substrate, your work surface must have some give to it. You need to press the tile down with a kind of rocking motion, but being careful not to actually move it across the fabric.
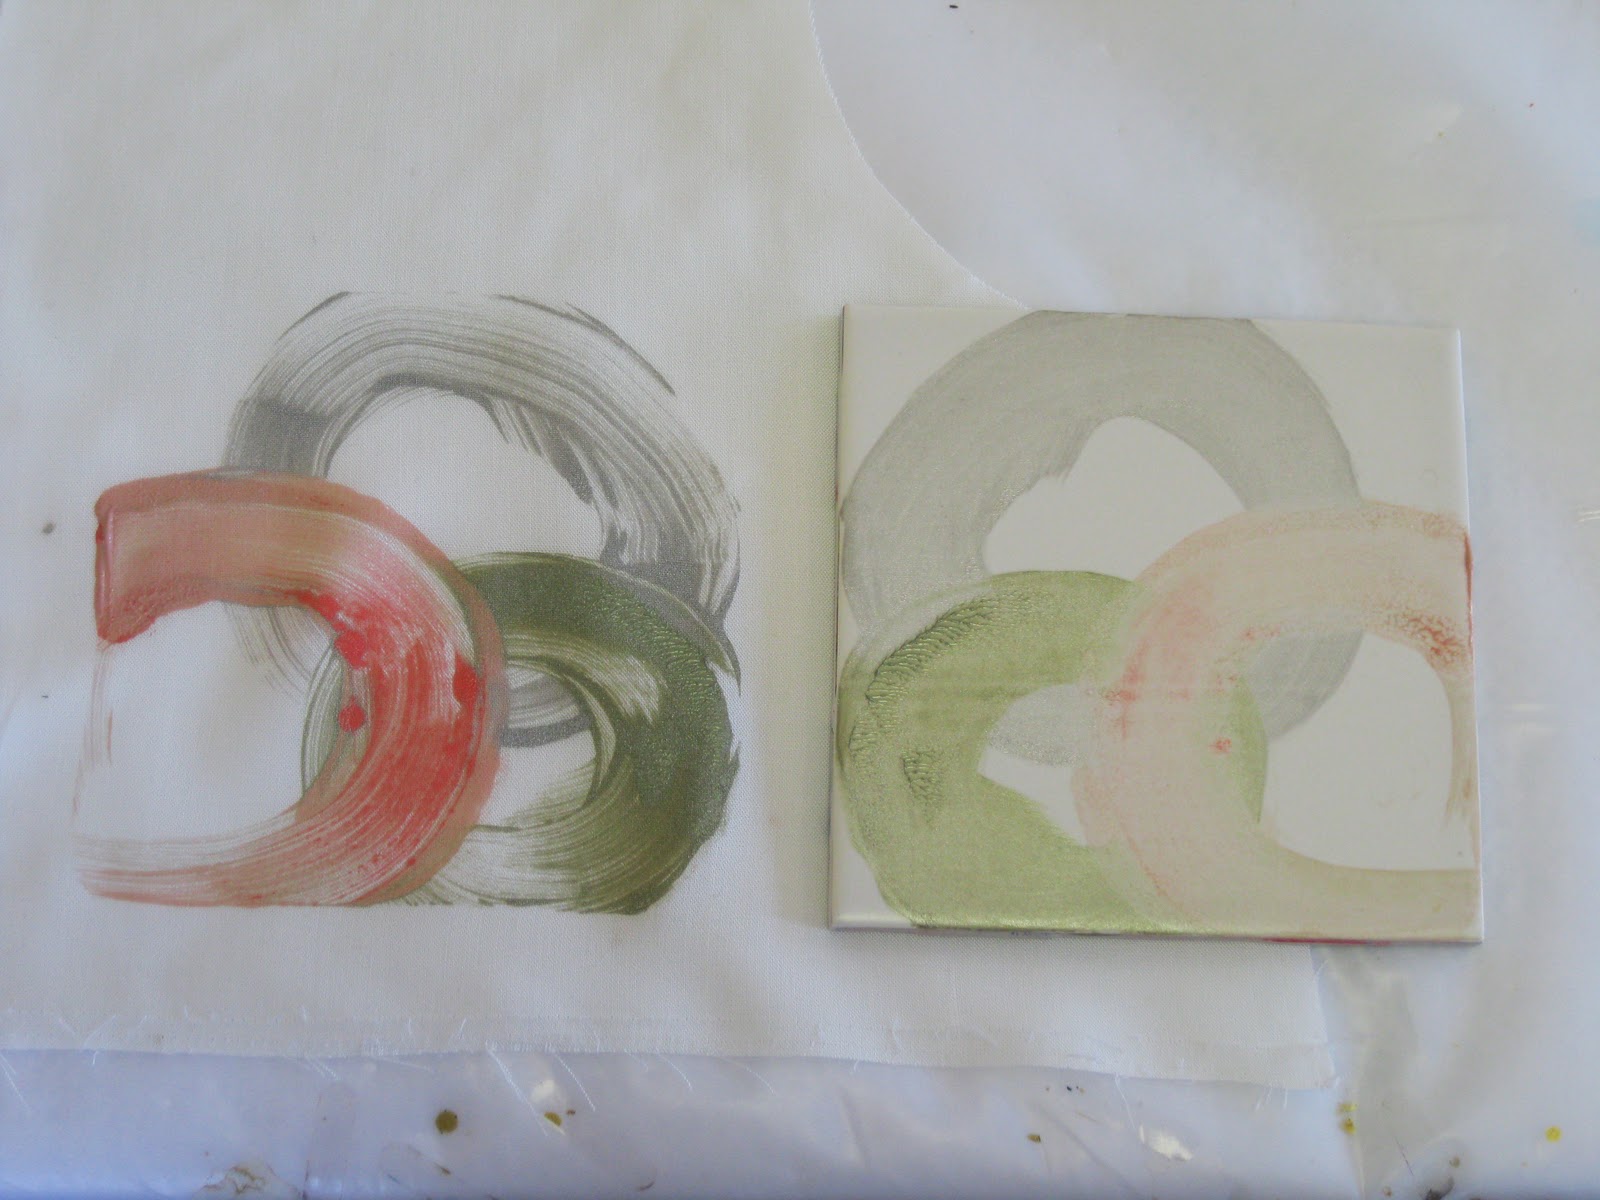
All printed. The tile is on the right.
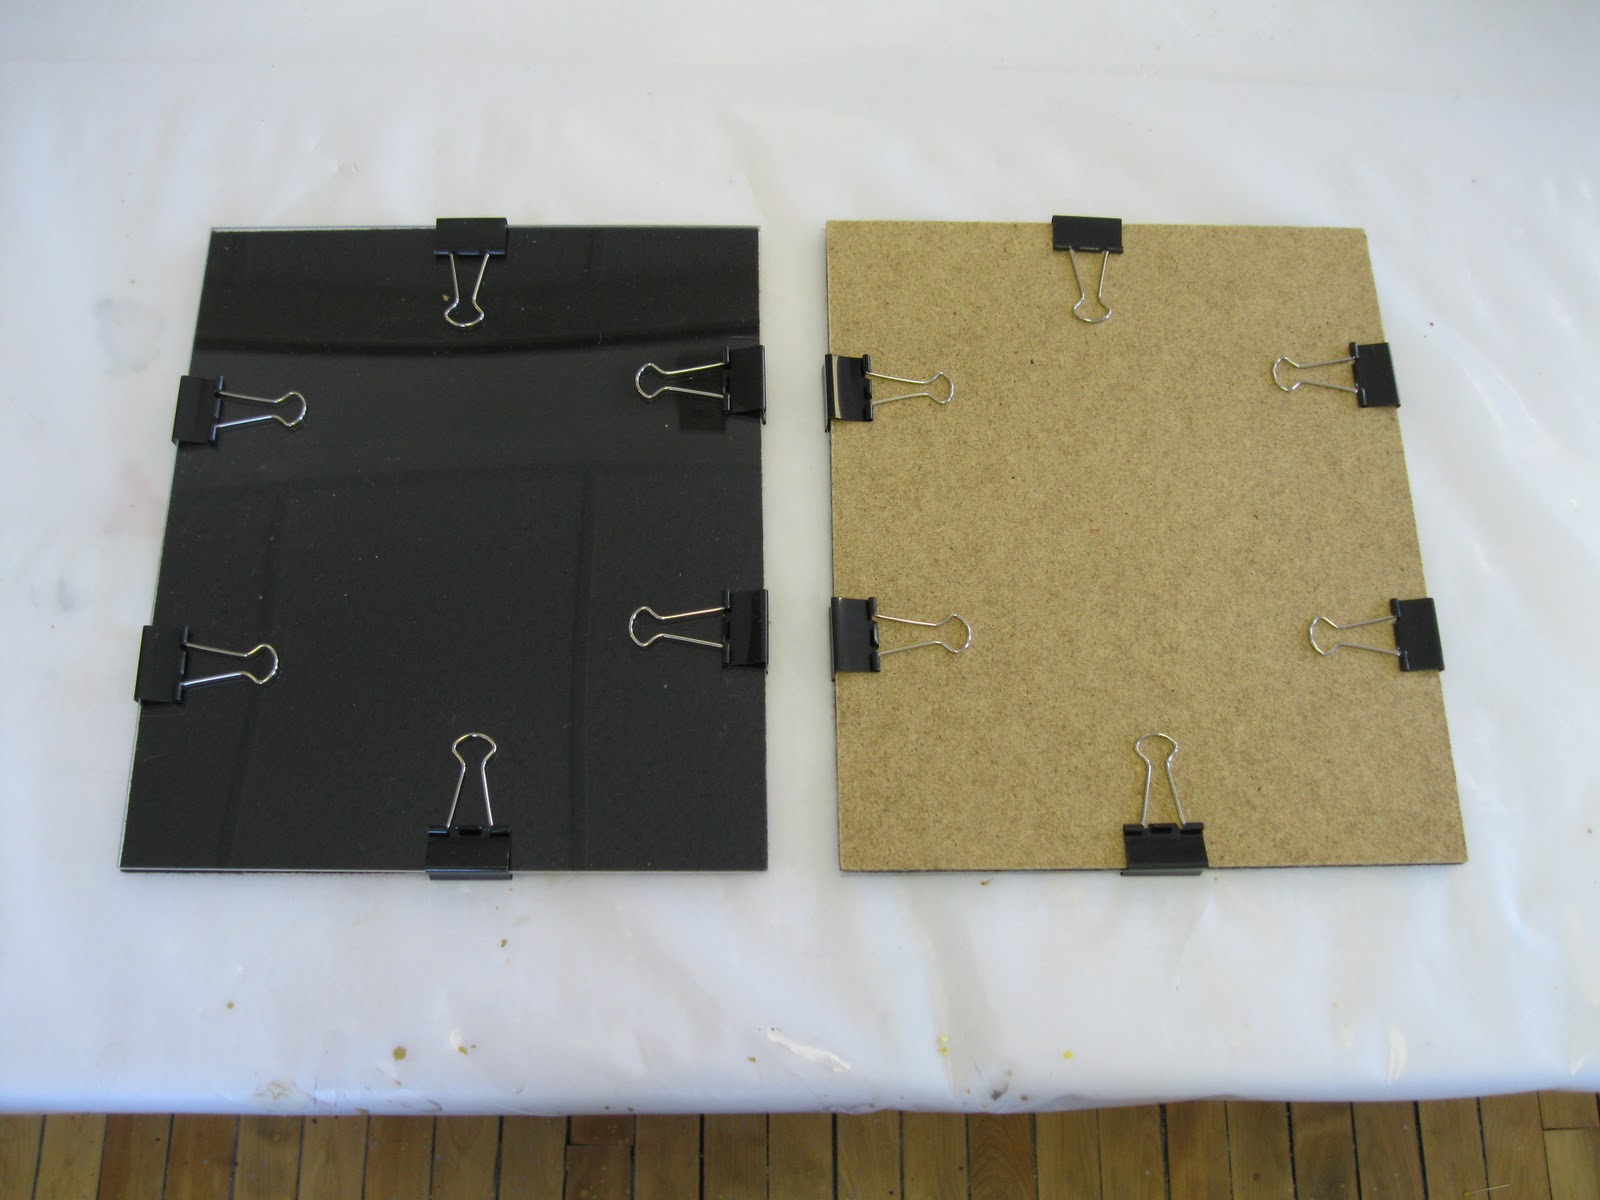
Okay. This is what you get if you order a starter kit from EZScreen Print. You can obviously put it together yourself. But I bought the kit to save on aggravation. The kit includes a masonite board that has black felt glued to one side, a piece of plexiglass cut to the same size of the masonite and 4-8 clips,
depending on the overall size of the masonite.
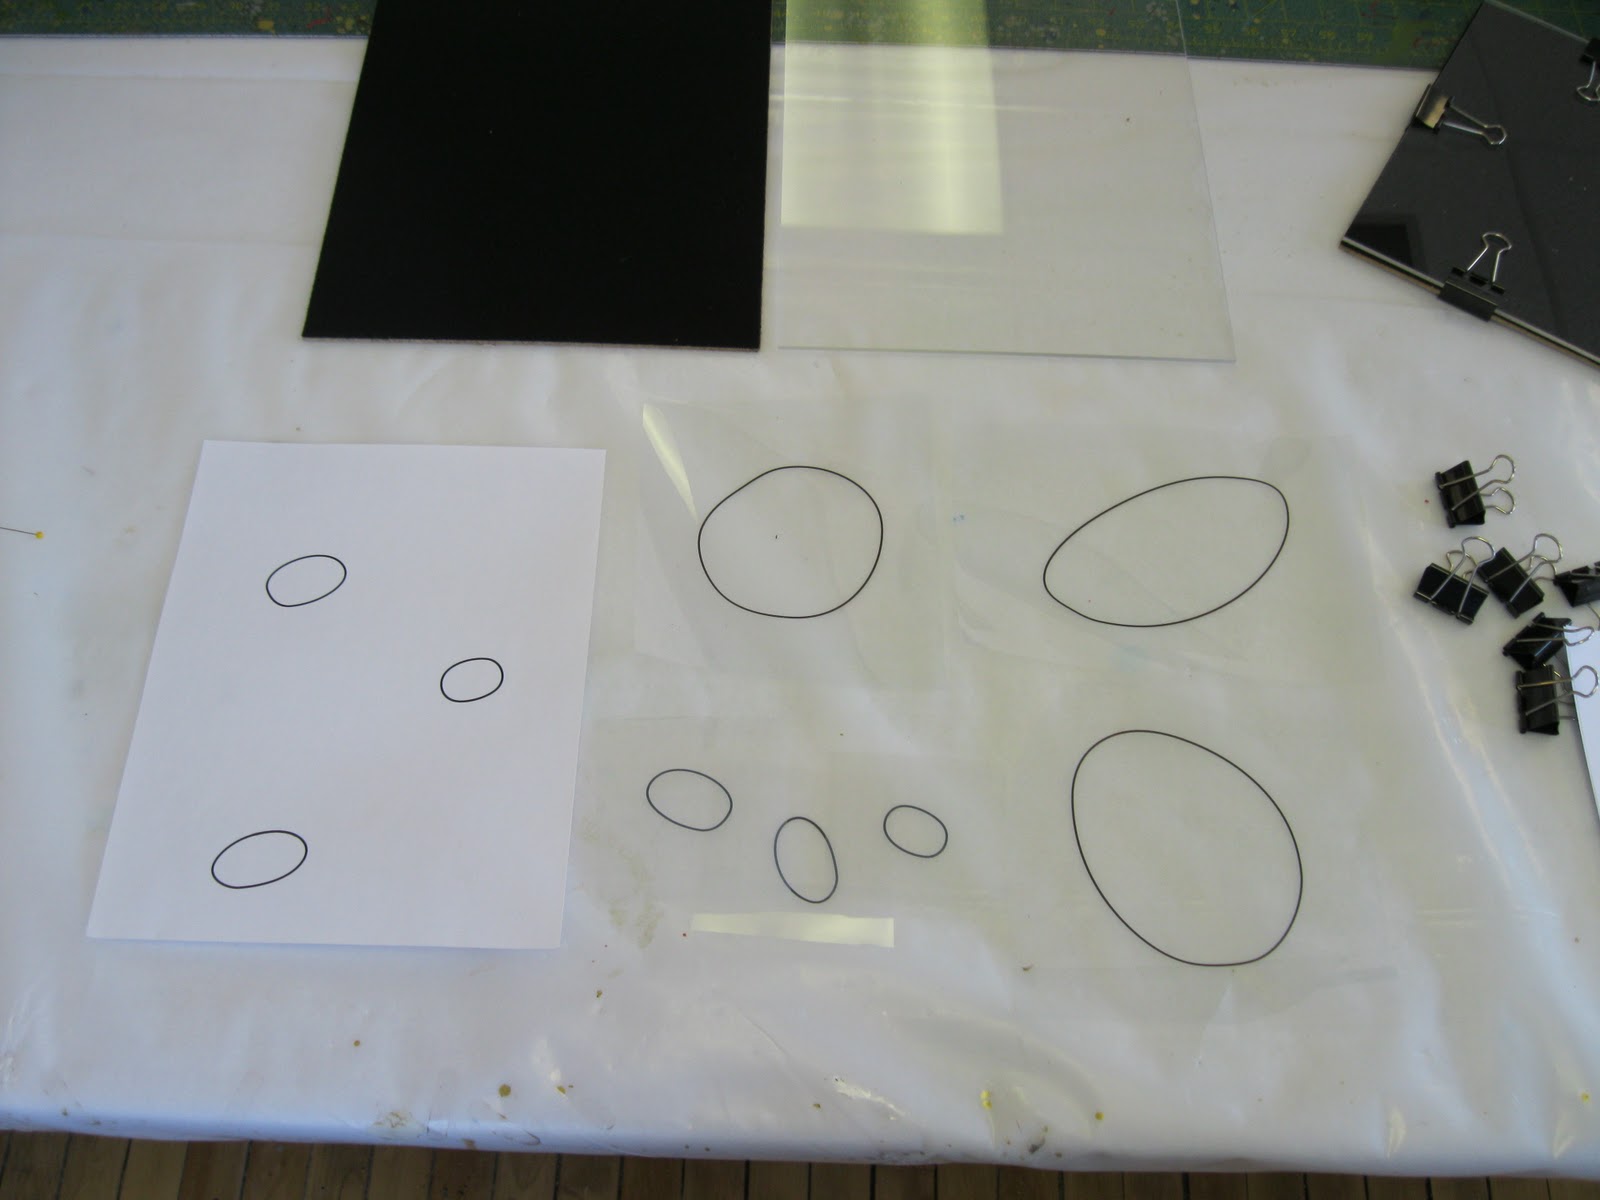
The first step is to prepare your artwork. I drew out the circles with Adobe Illustrator on my computer because I wanted really clean sharp lines, to contrast with the monoprint circles.You can draw free hand too if you like. If you decide to draw freehand, you will need to use a black marker for your finished drawing.The whole process works best if your drawing is then printed on transparency film. This can be easily done on your home, inkjet printer. I printed directly from the computer onto the transparency. If I had drawn freehand, I would have had to either scan my drawing in, or take a digital photo of it and then put it on my computer. In the picture above the circles on the lower right are on the transparency.There is a right and wrong side to the transparency, so be careful. You want to print on the dull side.
The film with the emulsion on it is stored in black plastic so it doesn't inadvertently get exposed to light.
You also need to do the next few stages in a very, dimly lite room, again so you don't expose the film prematurely. But consequently, I don't have pictures of these steps because I was working in the dark!
I use an inexpensive grow light to expose the film. I have had great success using only one fluorescent tube. Also very inexpensive, and it lasts a very long time! You can use the sun too. How cool is that! Pictured below is my grow light with the finished screens.To get to this stage I placed one emulsion sheet on the black, felt side of the masonite, with the emulsion side up. I then placed the transparency onto the film with the blackest side facing down. The plexiglass then goes on top of the transparency. The last step is to put the clips on, making sure to flip the handle part of the clips back over the clip itself, otherwise the handle would get exposed on my film as well as my drawing. I positioned the kit under the grow light with the plexiglass facing towards the light. I left it there for about 25 - 30 minutes. I always use a timer.

Then I take the kit apart and place the emulsion sheet in a wash basin or down flat on the bottom of my sink. I gently sprayed water on it and watched my image appear. You should hold it up to the light to make sure the emulsion has fully disolved. In my case only the outline of the circle itself is the image, so that is the only part that disolved. Let it dry and harden on paper towels. It stays quite wet and gooy for a long time. So I always plan on waiting 24 hours before using it.
.

The picture above is hard to make out, but essentially the white shape is actually a plastic frame that I taped the finished film to. You can buy these from the EZPhoto people. For a very long time I tried every kind of tape I could think of that would stick to the emulsion side even after it is wet. I finally had to give up. I decided to use painters tape to hold it temporarily. But low and behold it stayed taped through the entire screening process, even after it had been washed and dried!

Above I just pulled some paint across the screen with this cute little squeegee that comes with the kit.
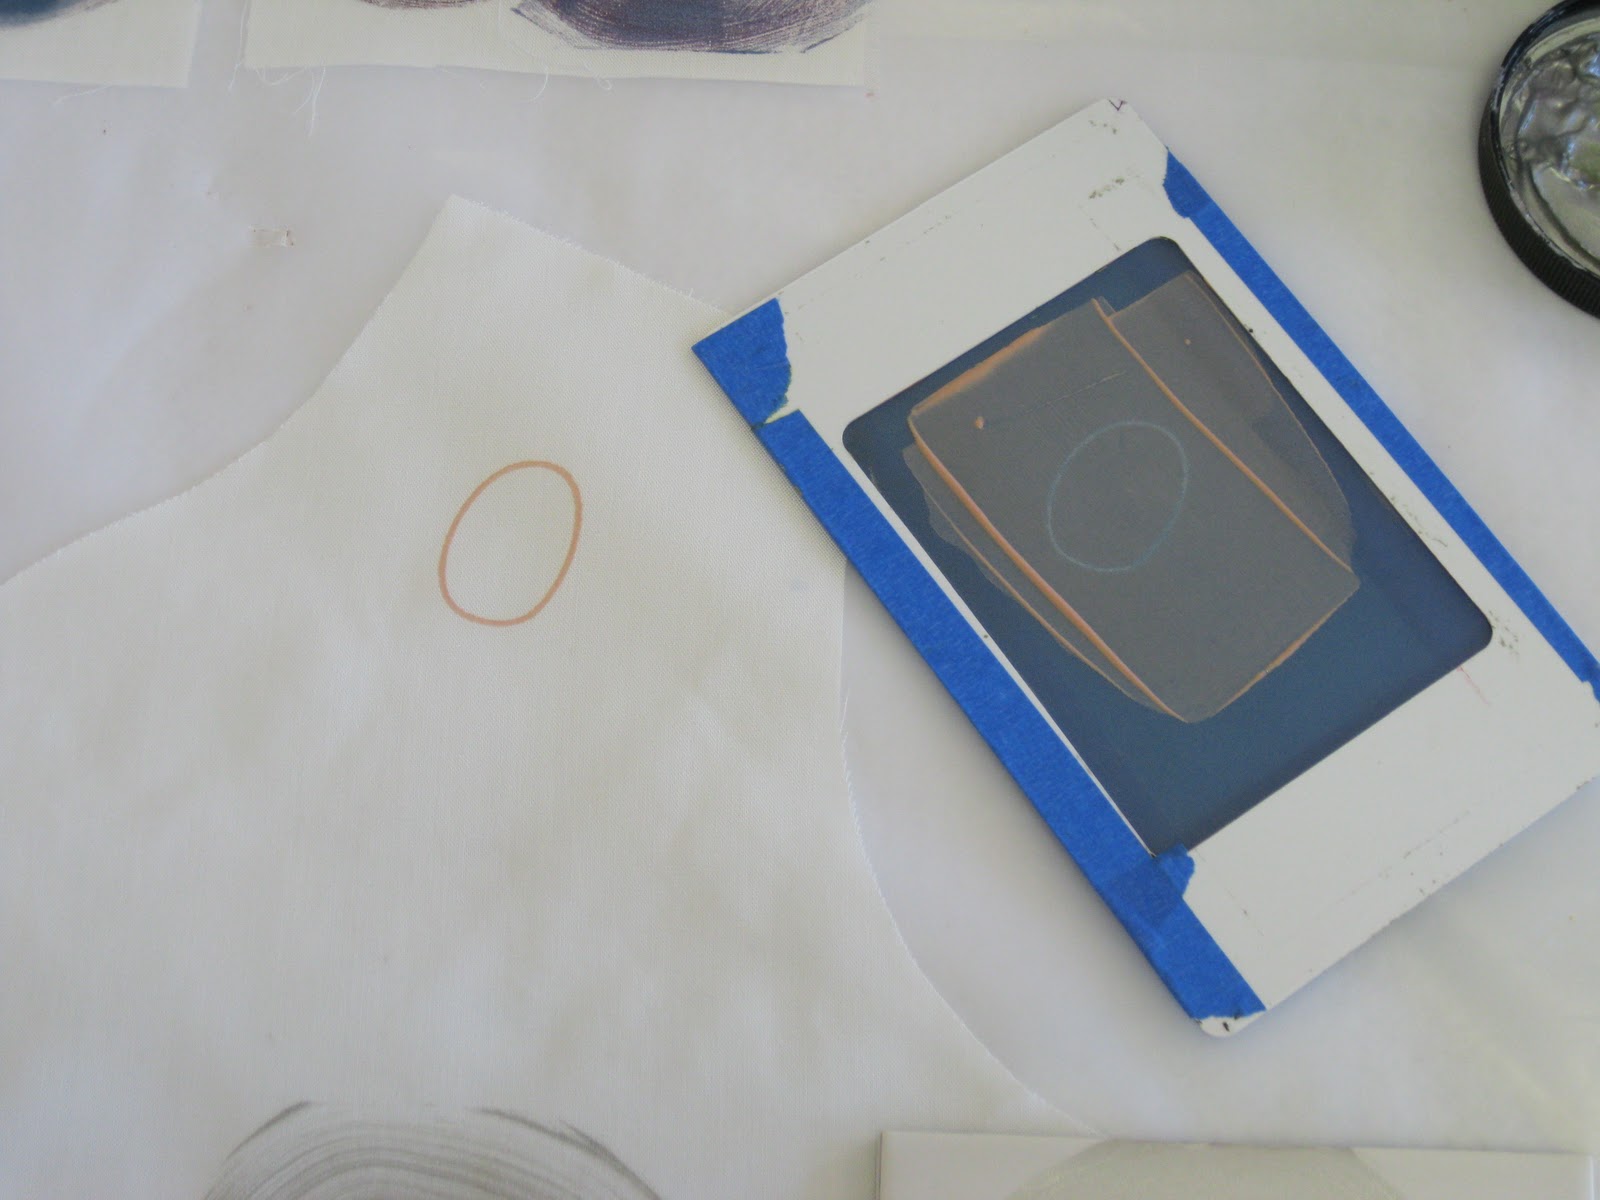
Here's my screened circle.The hardest part of making this fabric and garment was measuring out all the places I wanted the monoprint to go!
That's it. I'm off to bed.
