My sweet, gentle man passed away after a courageous eight-year battle with Parkinson’s Disease and the Parkinson’s disease dementia that ensued. Our hearts are broken. He was dearly loved and admired. We will miss him terribly.
Rest in peace Alan.
My sweet, gentle man passed away after a courageous eight-year battle with Parkinson’s Disease and the Parkinson’s disease dementia that ensued. Our hearts are broken. He was dearly loved and admired. We will miss him terribly.
Rest in peace Alan.

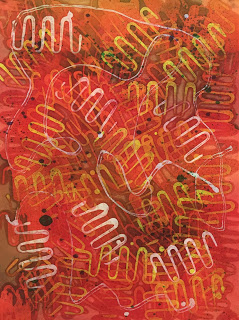
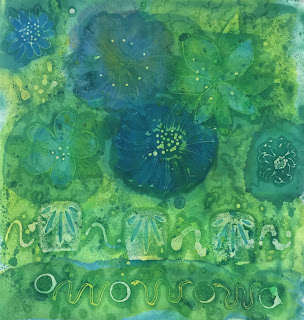
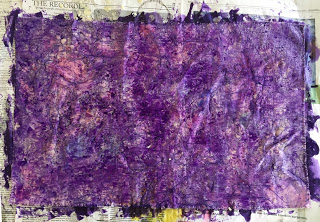
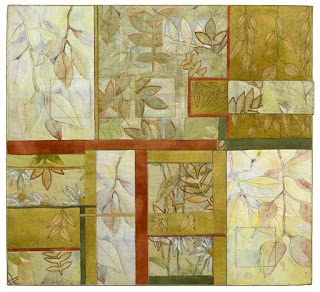
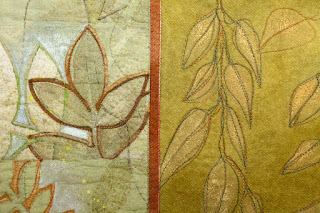
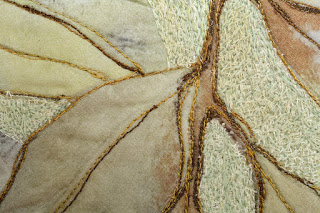
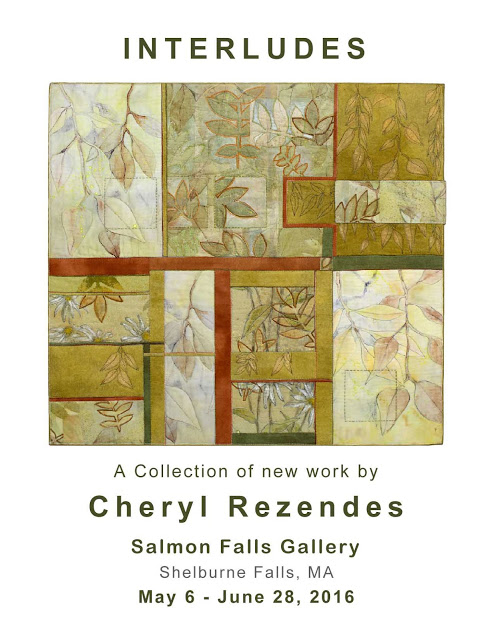
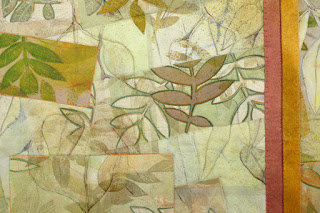
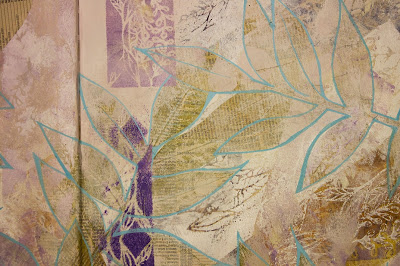
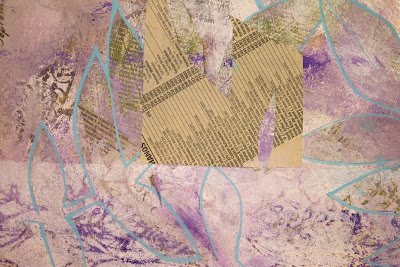
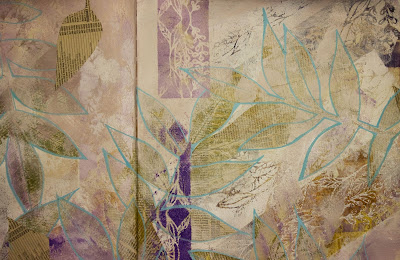
Last time I showed you this acrylic painting on panel.
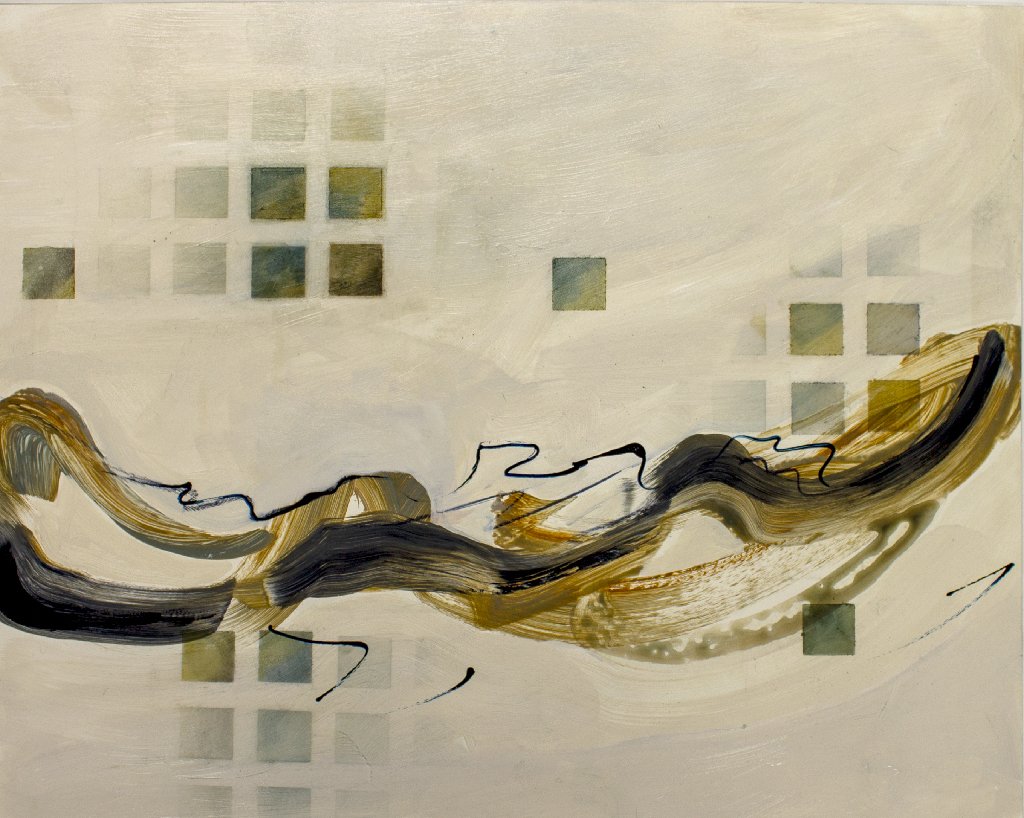
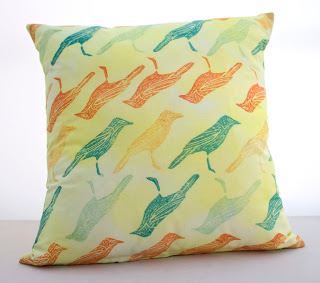
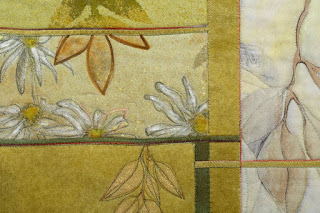
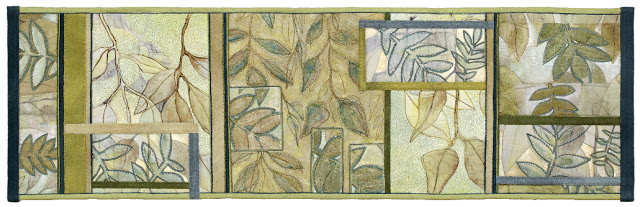
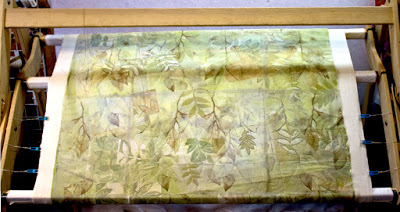
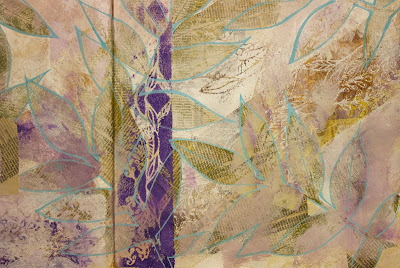
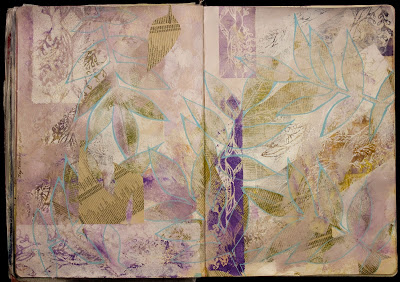
I then digitally printed the image several times on both silk organza and cotton satteen. After additional painting, pencil work and stitching, this is the finished textile piece. The vertical lines were created with silk ribbon that has also been painted on a bit. Finished piece measures 15” x 30”

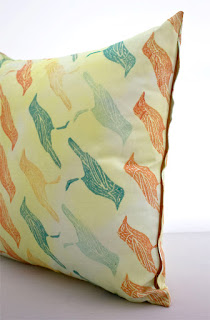
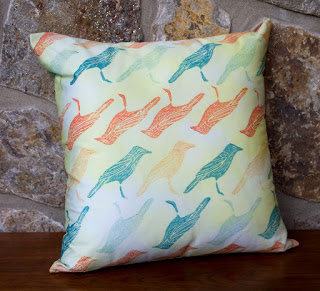
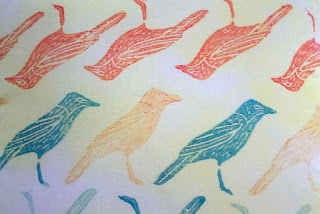
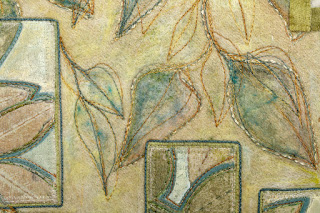
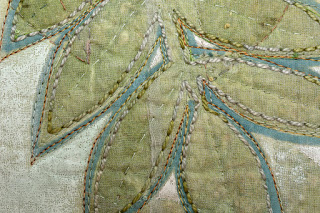
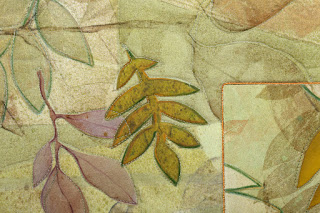
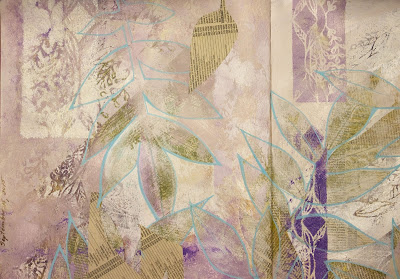
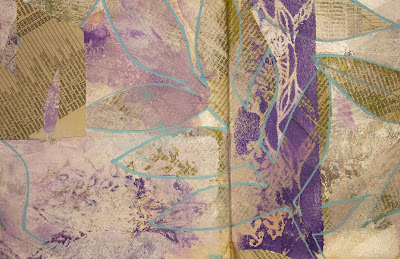
Here are some detail shots


These days I find myself often reverting back to what I used to tell my students. “Just go do the work. Time will bring it all together.”
My dear mother passed away a little more than a year ago. And even though I am still grieving for the loss of her in my life as well as caregiving for my husband, work in the studio is indeed going on. All the work I do on the house, in the laundry room, kitchen, bedroom and bathroom have their different rewards but nothing grounds me like being in the studio. Nothing else brings my spirit back like the work of the studio. Even walks down the wooded paths that lead from home to the natural world no longer lighten my load or show me the way to my spiritual path. And although caregiving for Alan fills my being with love, it does not settle like contentment in my soul.
Time in the studio comes on unpredictable days and hours of the day. Often, because of caregiving a trip across the garden to the studio won’t start until noon and then might end suddenly at 3. Or it may start at 10 and go through until 5 with breaks for medication and meals. Because of this I no longer work with medias that require set up times or clean up that must happen on the spot and could take 45 minutes or more. I have learnt to compensate. I mostly use textile paints again, while also dying with tea and coffee which can be left indefinitely in the pot and requires virtually no clean up. Stitching is of course an easy one. I have also been painting small works on cradle boards and then using them as a springboard for textiles pieces that begin with digital printing on fabric of the original acrylic painting.
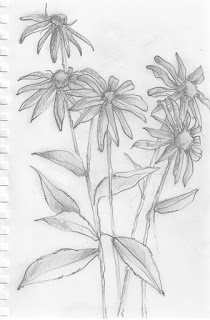
I now have a small cart with art materials in the house to work with in the morning. That time spent painting and drawing in my sketchbook has been amazing for the growth of my larger pieces once I get into the studio.
I am slowly updating my website and now reaching out to you in this format again.
In the meantime follow this link to view the paintings on cradle board and I’ll be in touch again soon. http://www.cherscapes.com/new-gallery
xoxo Cher
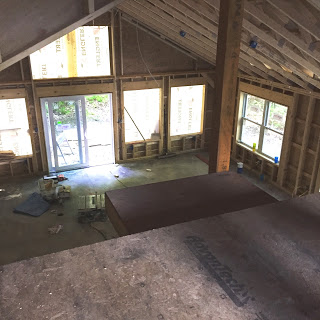
Studio from the north side.

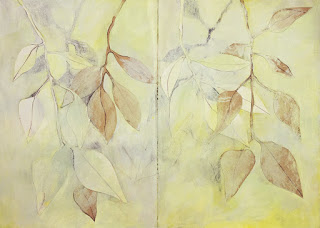
Acrylic painting on panel
Most of you know that my life is very much taken up these days with caregiving for both my Mother and my husband. I have blogged about it here. But after a bit of time I removed those posts. I struggle with writing about my husband and his illness on line. I think that he might feel that it is an invasion of his privacy. Actually, I know in my heart that he would feel this way.
So even though the actual role of caregiver and the emotions and thoughts I have related to my husband’s illness define in large part who I am right now, I feel that I must refrain from sharing about these subjects here on my blog. It will be hard and confusing as the boundaries between who I am and his privacy will often be blurred.
Lack of time and this confusion have kept me from posting here very often. But I have worked out a work schedule (of sorts) for myself that may be something I can keep up with.
Anyway – the deal is that I like things to be linear. I like things to flow from beginning to end – leaving little out that comes in between. This too has kept me from posting. Simply because so much time, so many events and so much work in the studio have gone by. Do I recreate the past from the beginning? Do I start in the middle? Do I start now and go back – then move forward again - moving fluidly back and forth through the timeline of my life as it is today?
And how do I approach posting? I used to think of the blog – my blog – the same way I thought of my column - back when I wrote a weekly art column in my daily printed newspaper. It was a piece of writing I worked on for the better part of a week – thought about, wrote, researched, wrote again, reviewed and edited. Any piece I wrote for magazines was of course approached in this manner.
But most people blog in much the same way they journal. Just write – don’t edit – just write. Okay, so maybe they edit a little bit. I understand now that because of the lack of time, this is how I should approach writing for my blog. Writing and publishing in this way will be another hard thing for me, as I like what I put out into the world to be polished, professional, well-crafted and perfected. I am counting on the fact that my lack of sharing very much at all over the past two years has perhaps actually been harder. We’ll see.
Anyway – here we go.

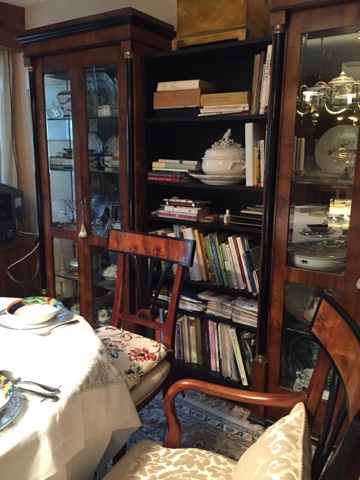
Curtains hanging in the dining room.
Last year we spent the better part of the year actually living in my new gigantic studio while we had the house worked on. We hadn’t done much of anything to it since we built it 27 years ago. Money was always tight and we were busy with work and raising the kids. But now the youngest child is in college. We are getting older – and his health isn’t great. It just seemed like now or never. So, we moved out – had the place painted, had the wood floors and ceilings sanded and refinished. We put in a new kitchen and handicap master bathroom and finished off the walk-out basement into a guest room. It was a great undertaking. Once we moved back in I started making and sewing things for the house. I had actually never done that! Oh, I had decorated but I had never sewn curtains and pillows. I had never even made a bed quilt before!
I must say it has been fun. And my husband has loved it! Really loved it!! It felt like we were young again creating a living space together – newlyweds nesting.
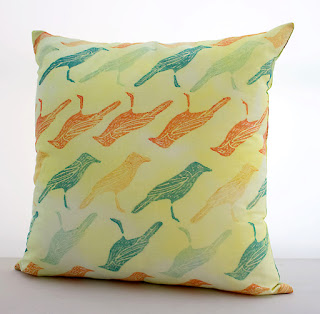
I started with curtains for the French doors in my living room and dinning room. We live in the middle of the woods and don’t really need curtains for privacy. But I like the way they look hanging on the wall at the sides of the doors. They kind of dress them up a bit and add color and texture. Plus, any opportunity to live with more cloth always makes me happy. But the truth is that I am terrible with measurements and really, really didn’t want to actually make curtains.
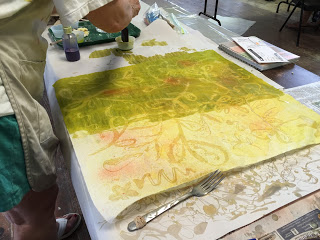
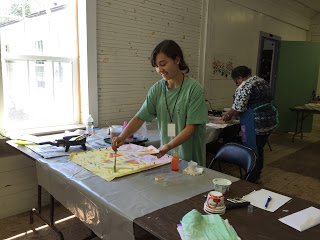
I found some lovely 100% cotton sheers. I bought white ones and set about painting them. I have a 4-foot by 12-foot table in my studio for painting fabric. I used Jacquard Dye-na-flow in spray bottles for the yellow. The images were made with my stencils and stamps using Pro-Chemical and Dye Pro-fab textile paints. And I might add that it took forever to paint all four panels!
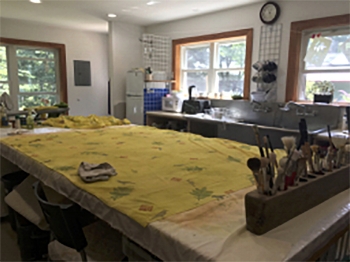
One curtain panel on my painting table in the studio.

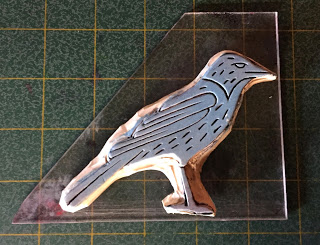
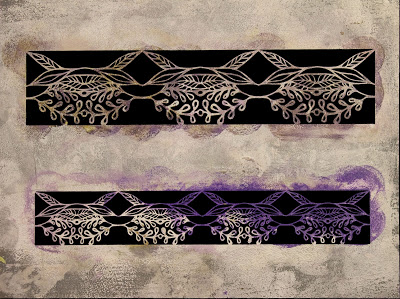
Three stamps I used.

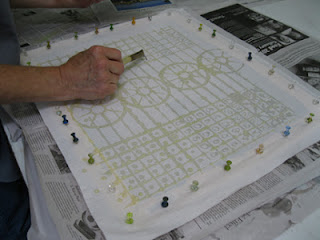
One of the stencils I used with a palette of paint and the stamping brush I prefer.

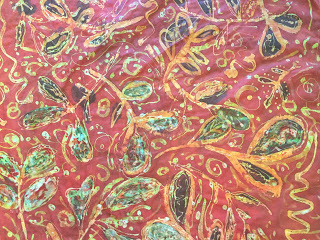
Close up

One panel hanging on the studio clothes line.

In the living room with Julian.
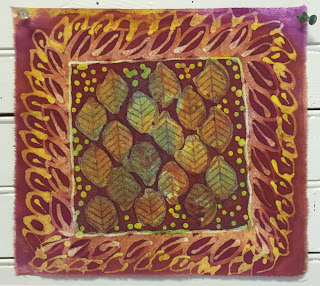
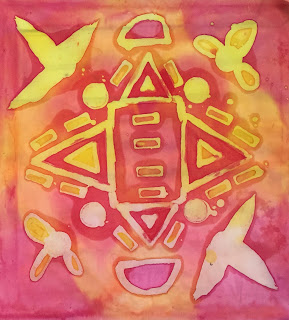
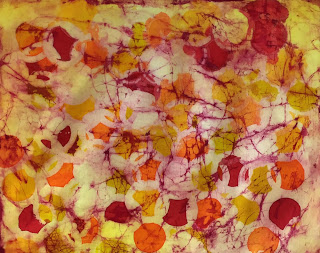
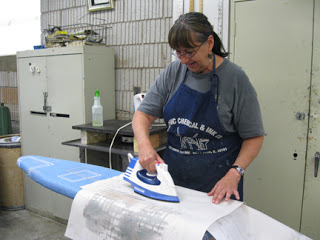
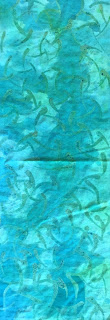
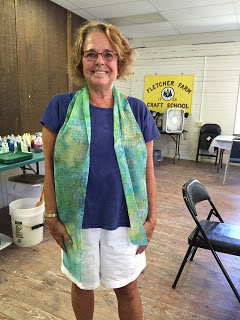
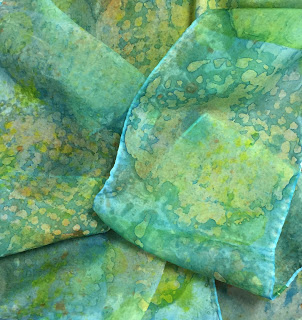
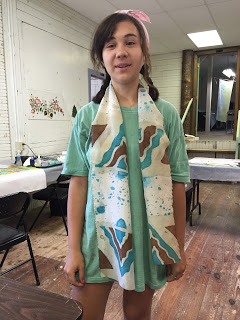
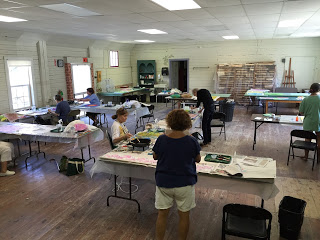
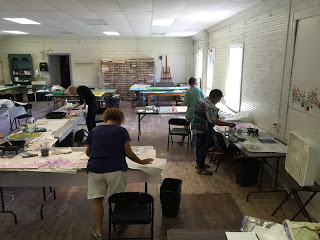
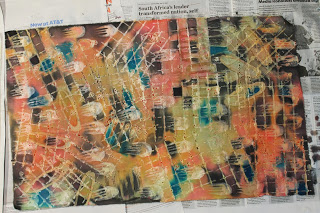
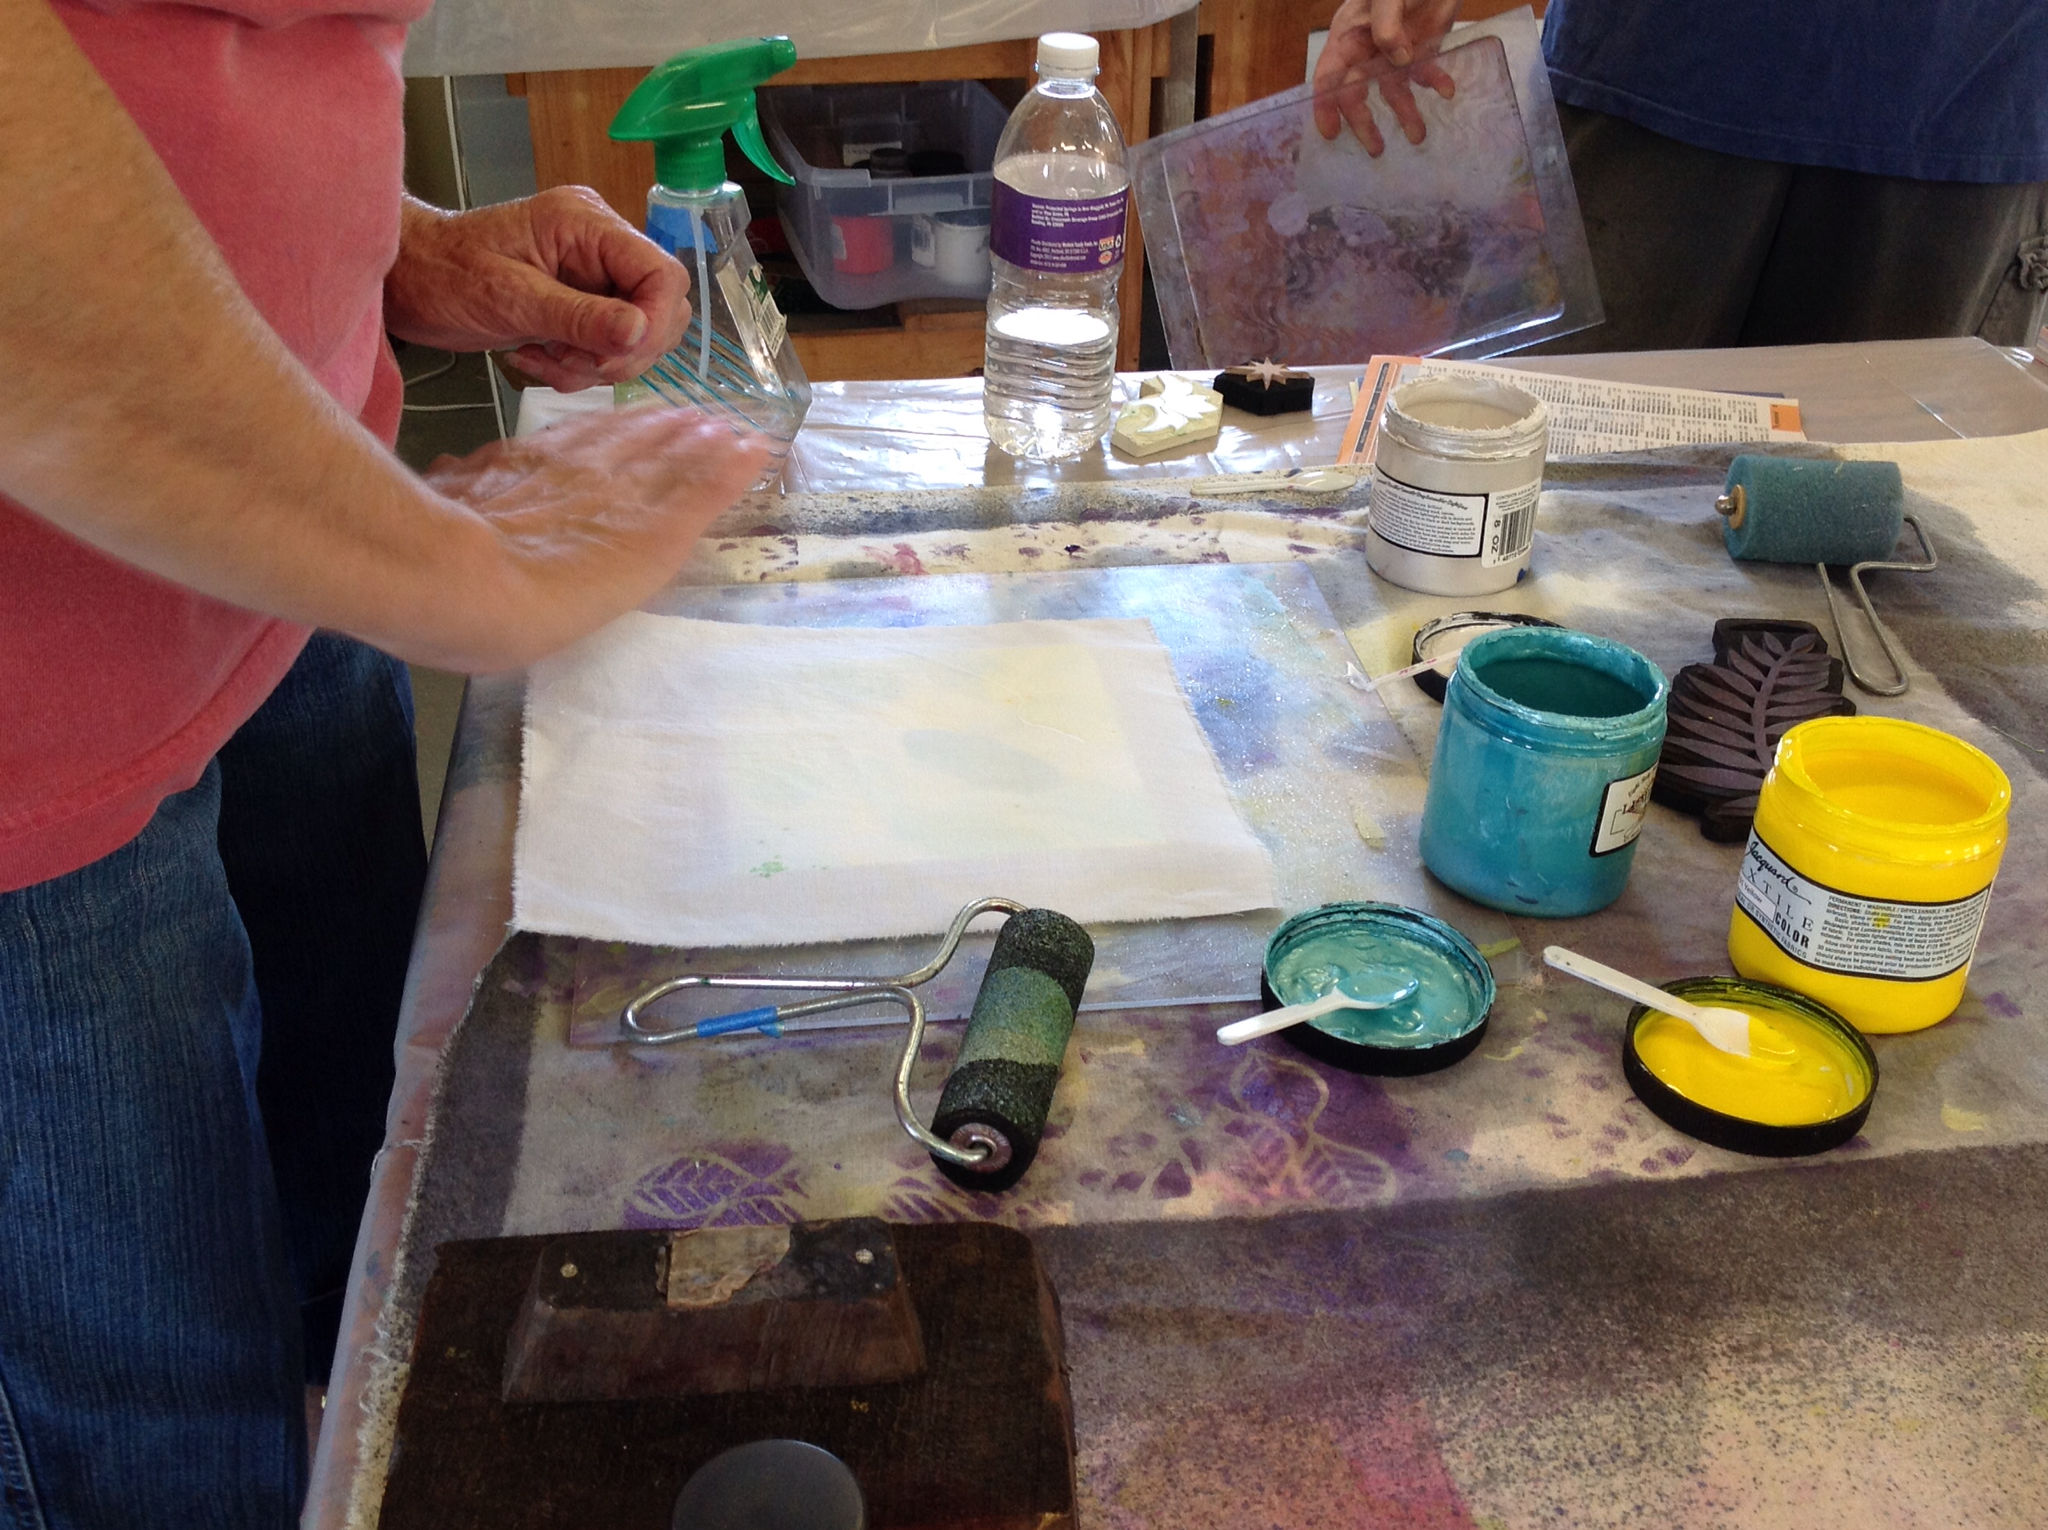
These last photos are really great examples of how well my students at the Fletcher Farm School for Arts and Crafts grasped the concepts of batik work as well as the use of the tools and paint.
We used a variety of resist tools found in my kitchen and garage as well as those found in hardware stores and my beloved dollar store such as potato mashers, metal napkin rings, bolts, metal spatulas and more!
We used brushes and the traditional tjanting tool for drawing and writing with the hot soy wax.
For color we brushed and sprayed Jacquard Dye-na-Flow textile paint. To learn more about the techniques and products we used simply scroll down for the last 2 postings or click here for day 1 and here for day 2.
By Hallee

By Adele
By Linda

By Adele
By Marilyn
By Maddy
By Sookie
By Marilyn
By Cynthia
By Maddy

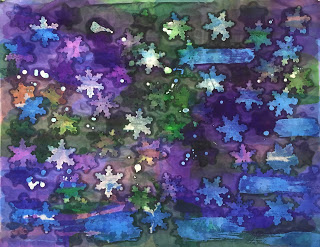
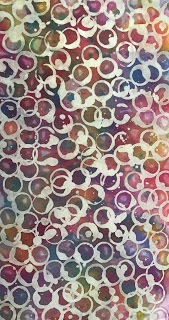
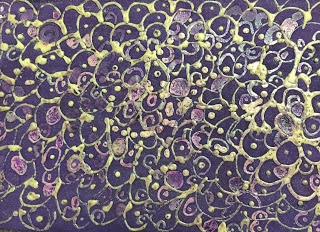
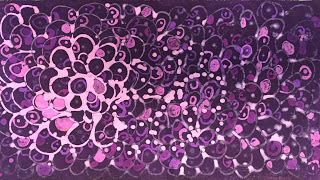
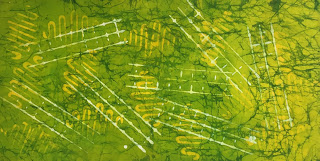
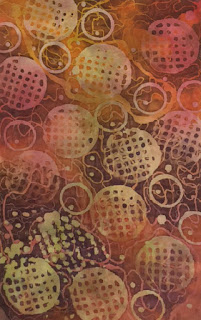
By Jeanne

By Jeanne
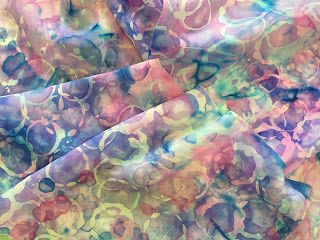
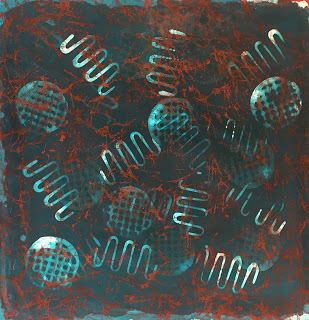
Jeanne's full name is Jeanne Marklin. She is an exhibiting fiber artist who traditionally dyes her own fabrics. She often works with commercially printed black on white fabric like her second piece above and uses circles as a common element. I just love the effect of the black and white fabric painted and batiked! To see more of her work click here. It was great fun to have her in my class and see how she incorporated her artistic voice into a new medium!
Don't forget to click on the images for a larger view.
Have a great day - Cher


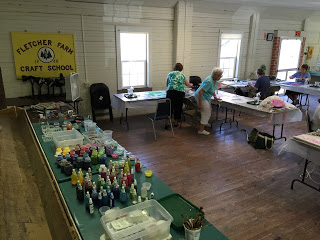 |
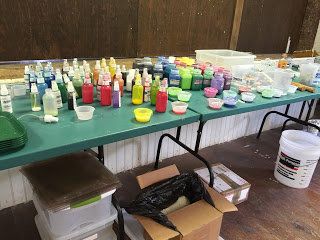
| The supply table. |
 |

|
| The supply table. |
|
 |
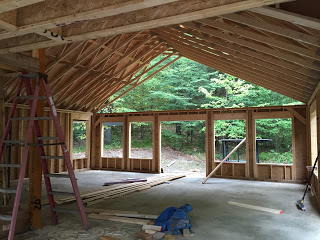
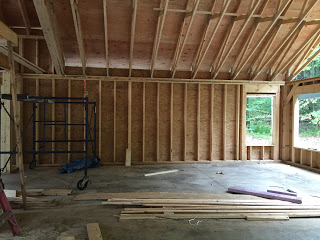
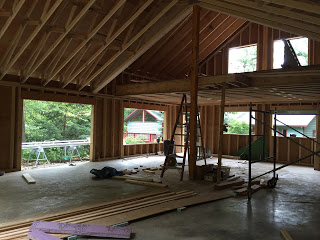
| West wall - only one window as this will be my design wall. |
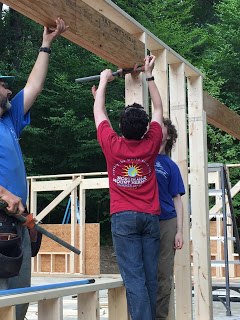 |
| All hands needed. |
 |
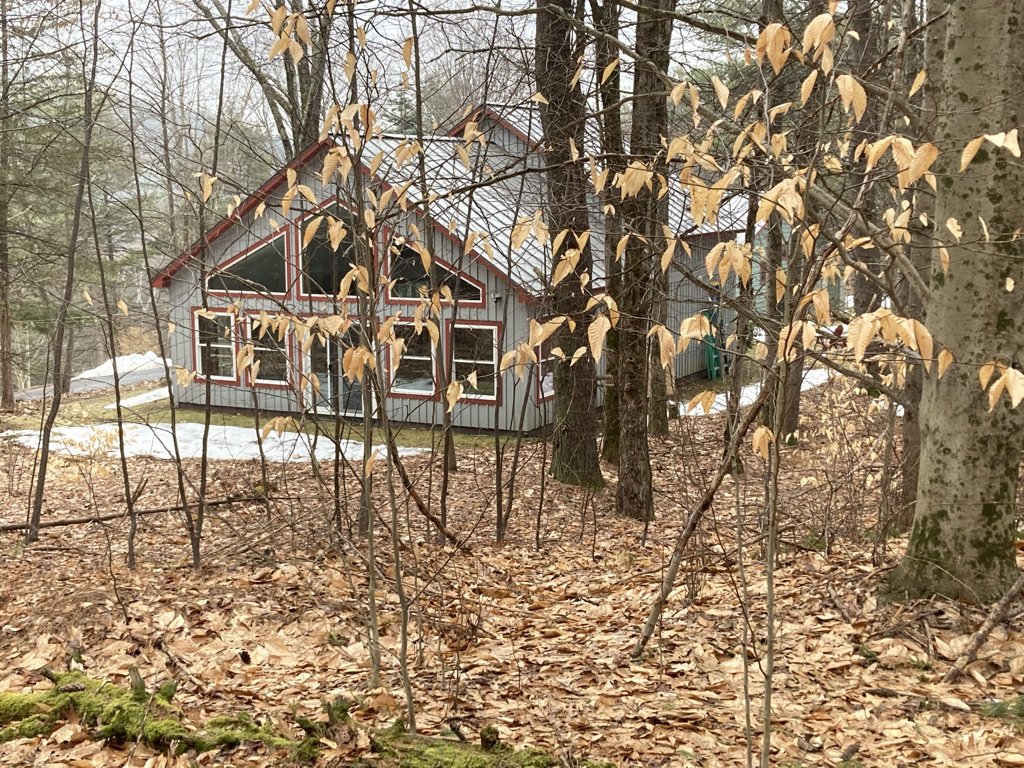
| View from inside the studio looking south to my house. |
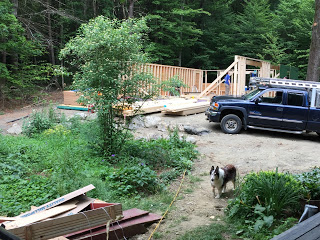 |
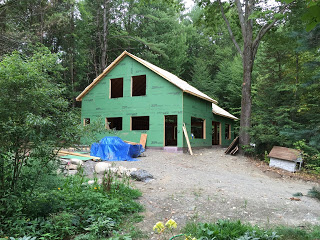
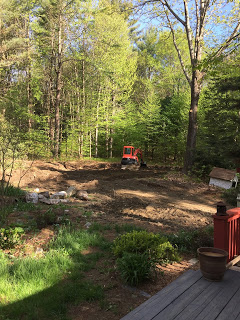
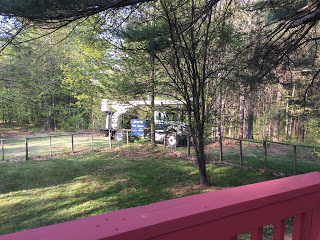
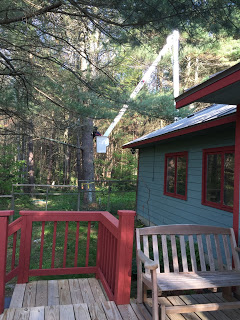
| View from my front deck. |
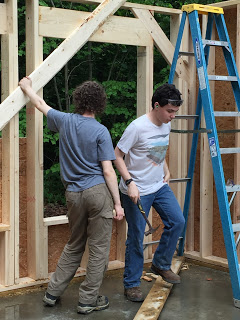 |
| Those are my boys |
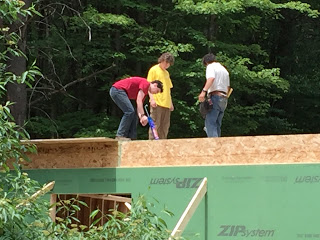 |
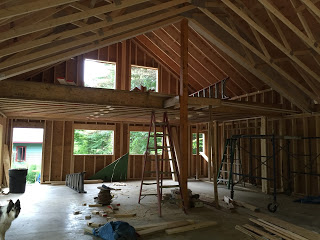
| Working on the floor of the loft space. |
 |
| Posing for Mom. |
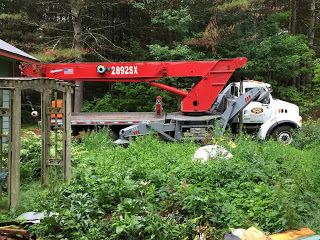 |
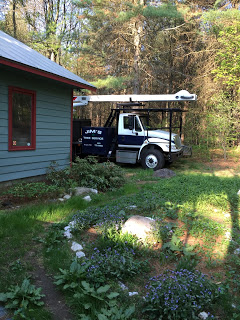
| A crane was needed to hoist the ridge beam in place. |
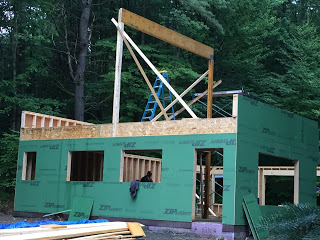 |
| Ridge beam up! |
 |
| Starting on the roof. |
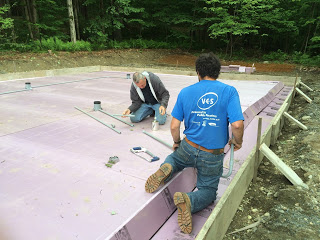
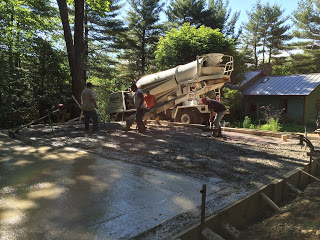
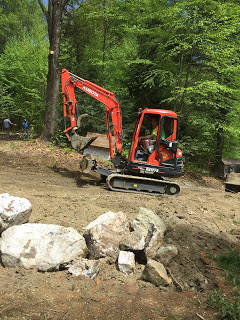
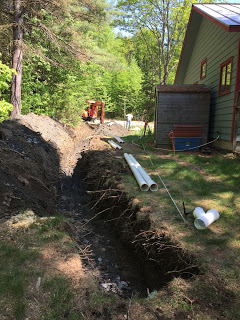
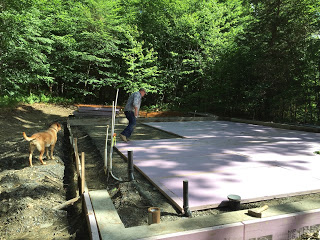 Here they are laying down the 2" thick, pink insulation foam on top of the ground. You can see that the water pipes are already installed. I will have a very teeny, tiny bathroom and a washer/dryer hook-up for dyeing fabric. |


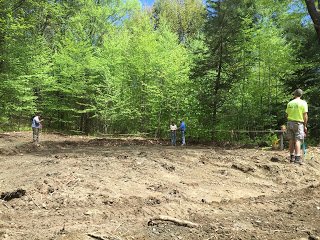 |
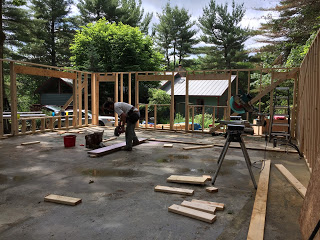
| Measuring out the parameters of the studio |
 |
| Getting started |
 |
| Rock collection for stone wall |
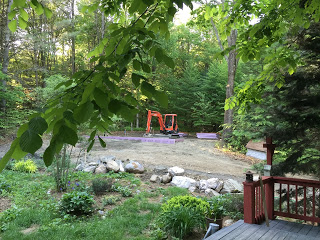 |
| View from my front deck |
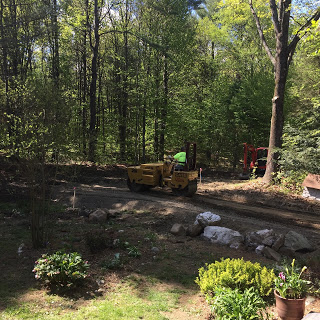 |
| Compacting it nice and flat |
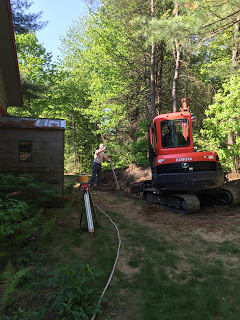 |
| Measuring the depth to make sure it is below the frost line. |
 |
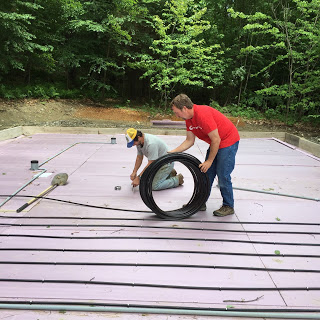
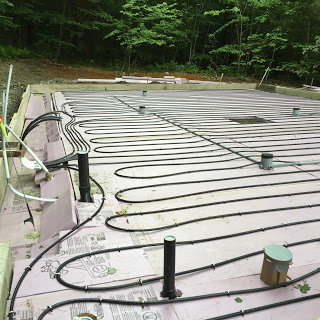
| Ready for the pipes |
 |
| Insulation as an added precaution. |
 |
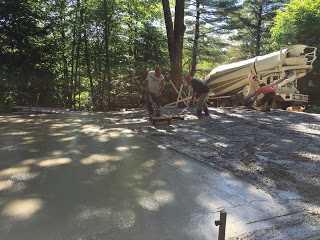
| The finishing touches. |

 |
| 40.5"w x 12"h |

 |
| Add caption |
 |


 |
| YIKES!! |


 |
| Stencil |
 |
| Full page spread |

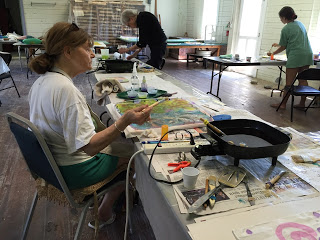
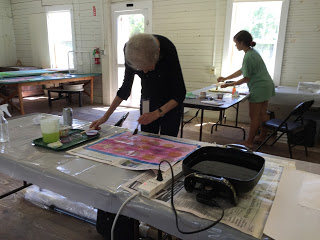
I am in Ludlow, VT teaching at the Fletcher Farm School of Arts and Crafts. This is my first teaching gig since my Dad passed and although it was hard to be away from my family it has been good. In all honesty though, I did manage to sneak away in the late afternoon to be home this evening.Today I finished a sweet 2-day monotype printing workshop. I had only 2 students! Here are some photos of their great work.


Tomorrow will be the first day of another 2 day workshop. This one will be Hand Painting Fat Quarters Students will learn about painting watercolor backgrounds and carving, cutting and using their own stencils and stamps. We'll also discuss composition and designing their own fabric collections.
Stay tuned!
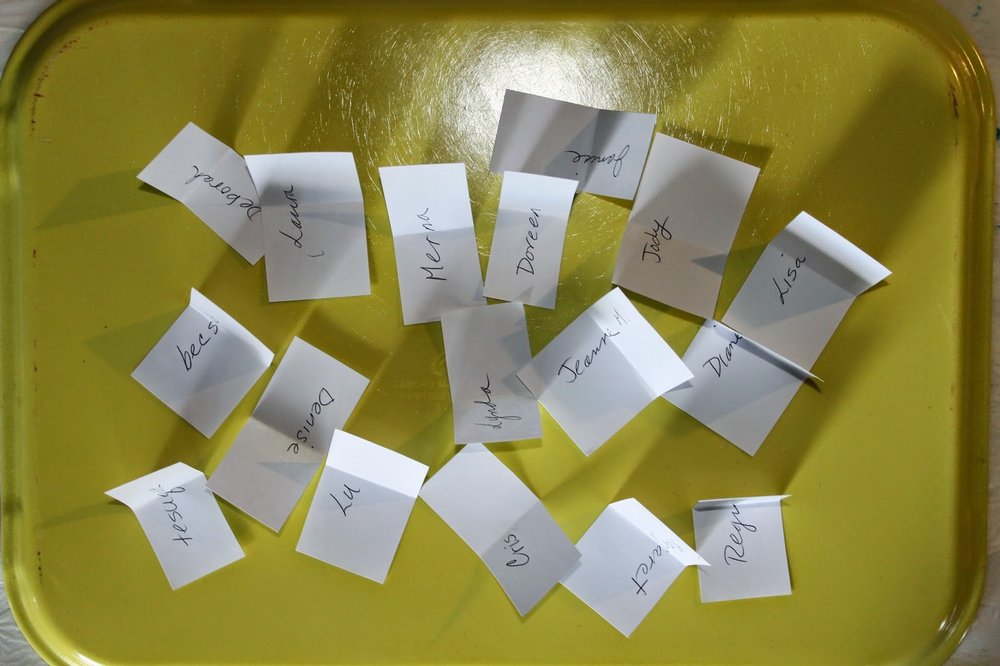 |
| All your names |
 |
| Folded in half and randomly placed in the bucket |
 |
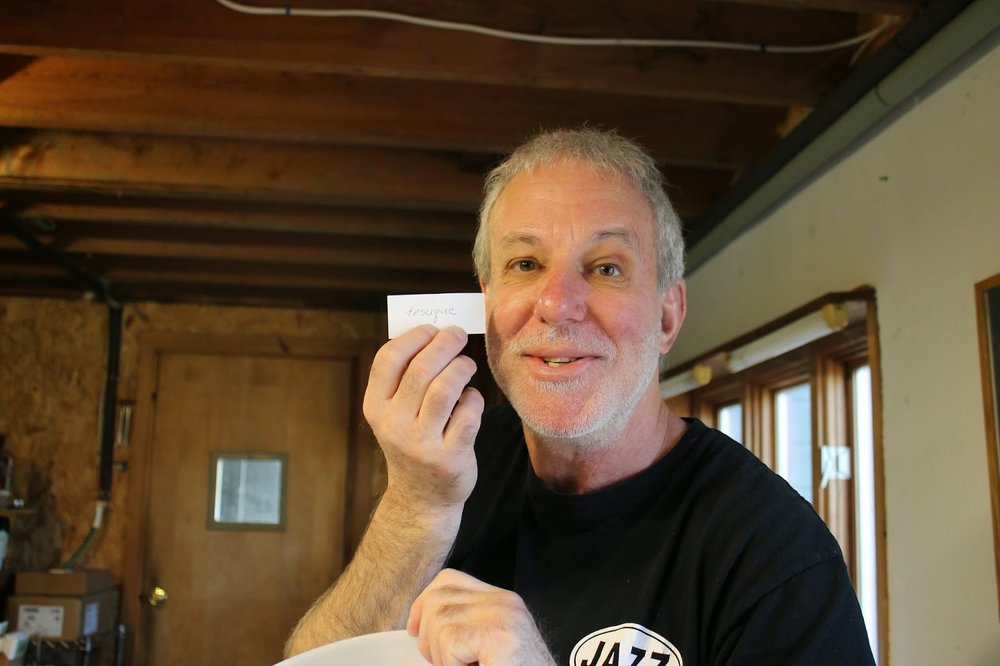
| This is my friend Bruce Kahn. He stopped by the studio at just the right time! |
 |


